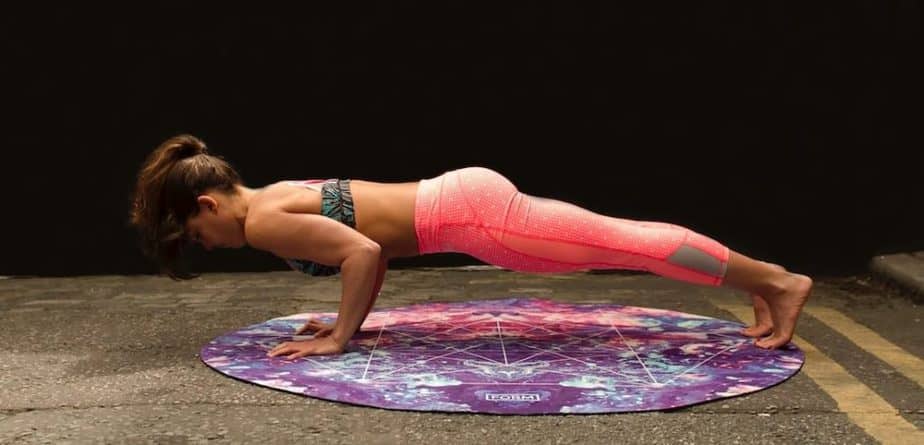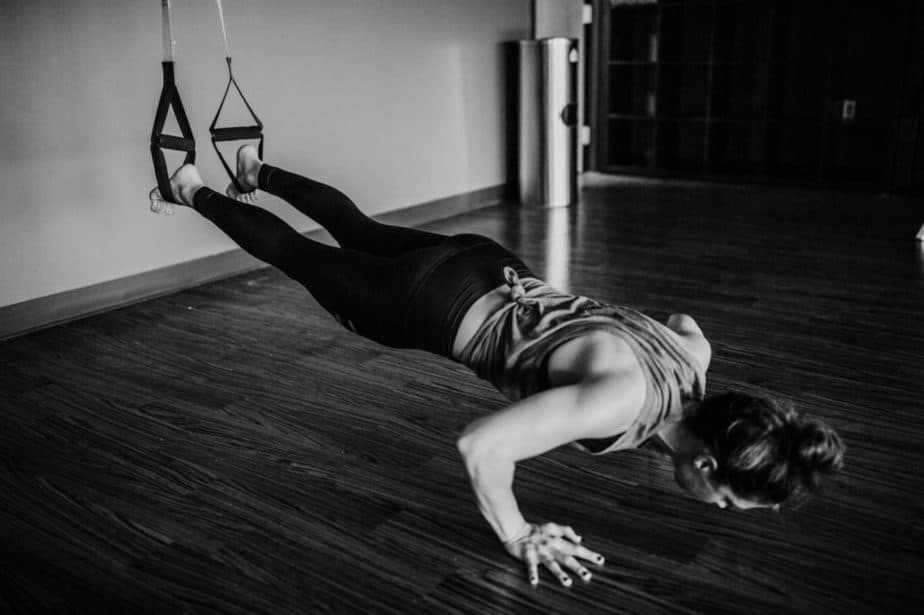
The plank is a brilliant exercise for building core strength using only your own bodyweight. In this exercise guide, I will teach you how to perform the plank correctly, ensuring maximum gains without the risk of injury. The plank focuses on your core muscles: abdominal, back, hips, shoulders, neck. The plank is a great exercise to do as part of an overall core strengthening routine, and it will help to build strength and muscle tone.
To plank you will need to lay on the floor with your forearms flat against the ground and your elbows underneath your shoulder. Your body should be straight with your tiptoes touching the ground. To do a full plank, your knees should not be touching the floor and your legs should be straight. Keep your head up and look directly to the front. Keep your abdominal muscles – those are the muscles in your stomach – tight and strong. Keep you back straight, don’t allow yourself to bend down, either up or down, at the waist.
Now that you get the basic idea, I will explain in more detail how to plank correclty, how to do a 5 minute plank, and
How to Plank in Detail
The basic plank is fairly easy exercise. It requires a padded/soft surface (or very tough elbows!) and for you to be able to keep your body straight(ish) in a horizontal position. The basic plank is a static exercise, which means it requires no movement whatsoever, simply strike and hold the pose.
How to Plank Correclty: Hold your body off the floor with your elbows, forearms, and the tips of your toes. Your hips must be raised, rather than sagging down towards the floor, ensuring your back is kept straight. Your forearms should be flat on the floor and your elbows should be below your shoulders.
You can choose a variety of hand positions including laying them flat on the floor or clasping them together underneath your chin. Exactly how you hold your hands is not important, do whatever you prefer.
Keep your feet hip width apart and your butt low – don’t wave it in the air like you attempting to do a downward dog yoga position. Tighten your stomach muscles throughout the duration of the exercise and keep your face looking forward.
How to Plank Without Hurting Your Back
The reason you back hurts while you are doing the plank is because you allowing your back to sag. Instead of letting your back collapse, keep you abdominal muscles, the muscles located in your stomach area, tight and strong.
It is important that you keep your hips inline with your shoulders, if you do this then you know that you aren’t letting your hips sag.
For some people it can help to relax your hands and keep them aligned with your shoulders.
Plank Progressions
If you are struggling to do a full plank then start out with some progressions. Progressions are a way of building up your strength gradually. They are the most effective way of training with bodyweight.
Plank Progression One: Straight Arm Plank
For the straight arm plank you need to assume the push up starting position with your hands flat on the floor, arms and body straight, supporting your self on your tiptoes. Then, rather than doing a push up, you simply hold the position.
Plank Progression Two: Knee Planks
Next you can get down on your elbows but support yourself by letting your knees rest on the floor. This takes some of the weight off your arms and gives you the chance to build up your core strength before attempting a full plank position.
Plank Variations
There are numerous plank variations you can try – not all of which are static exercises:
Single Leg Plank – Raise and hold one leg slightly of the ground while you plank.
Leg Raise Plank – Lift one leg up high – while keeping your back straight – and then the other.
Hand Plank – Hold yourself up on your hands rather than your elbows.
In and Out Plank – While holding yourself up by your hands, walk your hands wider and closer repeatedly. You can also walk your feet in and out too.
Up and Down Plank – Go from elbow supported plank to hand plank and back again repeatedly. Make sure you switch which arm you start with to ensure both arms get an equal workout.
Side Plank – Plank on one arm, facing the wall rather than the floor.
How to do a Five Minute Plank
“While studying, I became known as “The Plank” at the university boxing club, having out-planked the rest of the team. In a planking competition, I planked for nearly 7 and a half minutes. After that, “The Plank” was born.”
Thom, ModernCalisthenics.com
One of the most popular plank challenges is to do the plank for 5 minutes. It’s totally possible, even for beginners, as long as you progress towards the 5 minute goal slowly and consistently.
Use this training schedule to do a 5 minute plank in 30 days:
Day 1: 20 seconds plank
Day 2: 20 seconds plank
Day 3: 30 seconds plank
Day 4: 30 seconds plank
Day 5: 40 seconds plank
Day 6: REST
Day 7: 45 seconds plank
Day 8: 45 seconds plank
Day 9: 60 seconds plank
Day 10: 60 seconds plank
Day 11: 60 seconds plank
Day 12: 90 seconds plank
Day 13: REST
Day 14: 90 seconds plank
Day 15: 90 seconds plank
Day 16: 120 seconds plank
Day 17: 120 seconds plank
How to Plank Videos
13 Plank Exercises that will sculpt your core:
Here are another 25 types of plank exercises:
Now you know how to plank the right way. If you follow this guide and know how to plank correctly then you’ll avoid injury and gain strength more quickly.

